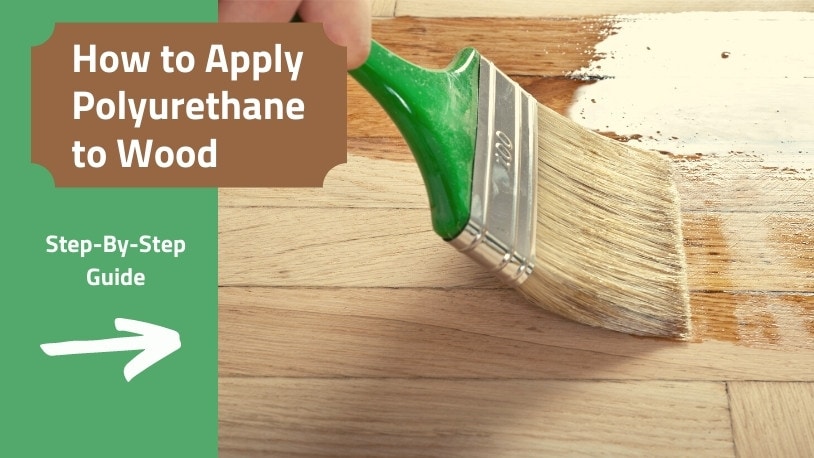
Of all the finishes you can apply to wood, polyurethane seems the most difficult to apply well and ensure a good finish. However, a perfect finish is possible if you follow a few basic rules and understand a little about polyurethane. Today, we’ll run you through all you need to know about how to apply polyurethane to wood successfully.
Over the years that I’ve been woodworking, oil finishes were often my go-to solution; however, if you want low maintenance or need to protect your timber from moisture, you can’t beat polyurethane. I’ve made all the mistakes possible when applying poly and learned what not to do the hard way. Stay with me for the next couple of minutes, and I’ll share those lessons with you.
Tools and supplies you need
How to apply polyurethane to wood
- Surface preparation is key to successfully applying polyurethane. Be sure to sand the surface to get the desired smoothness. Ssanding also feathers and flattens any previous finish.
- Wash the surface with soapy water to remove any traces of wax or oils. Allow it to dry, then vacuum and use painter’s tack cloths to remove any trace of dust.
- Stir your polyurethane gently with a stirring stick to distribute the solids evenly. Do not shake or agitate the container.
- For the first coat, thin the polyurethane using a 50/50 ratio of the correct thinner. Do not mix water with oil-based polyurethane or oil-based thinner with water-based poly.
- Dip the brush into the thinned product. Use a synthetic brush for water-based products and natural bristles for oil-based. Do not wipe the brush on the side or lip of the tin.
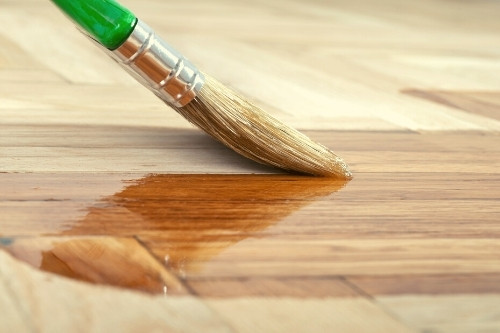
- Using light strokes, apply the polyurethane in the direction of the grain. Use just the tip of the brush.
- Allow the coat to dry fully. Then lightly scuff the surface using 220-grit sandpaper, removing all dust with the vacuum and tack cloths.
- Apply two more coats following the same process but thinned to a ratio of three parts polyurethane to one part thinner. Lightly sand the second coat to ensure adhesion for the topcoat, but do not sand the topcoat. Be sure to allow each coat to dry thoroughly.
Related: How Many Coats of Polyurethane to Apply?
How long to wait between coats?
Drying time is dependent on your local temperature and humidity. However, water-based polyurethanes normally dry after two to three hours, allowing the application of multiple coats in one day.
Oil-based products take longer to dry, usually between 12 to 24 hours. It’s important to understand that oil-based polyurethane dries in two steps. First, the thinners will evaporate, which happens quickly. The polyurethane is now a thick and tacky coating. The second stage is the hardening off from exposure to oxygen. This second stage is a long process, depending on the coating thickness.
With polyurethane, particularly if it’s oil-based, patience is the key. If you try to scuff sand when the coating is not fully dry, you will end up with a poor finish.
What to apply polyurethane with?
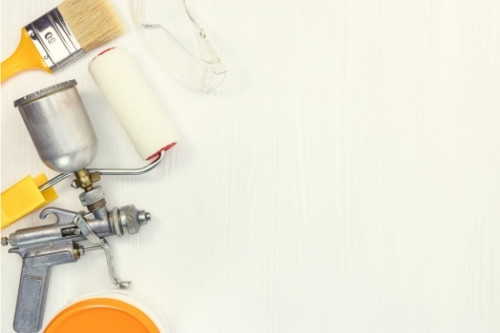
While you can apply polyurethane with all applicator methods, some come with difficulties. Spraying using a compressor and a spray gun is notoriously problematic due to the slow-drying overspray and is best left to professionals.
You can use rollers, but they can leave bubbles on the surface if you’re not careful. For best results, use a fine nap lambswool roller for oil-based polyurethane and either microfiber or foam rollers for water-based products.
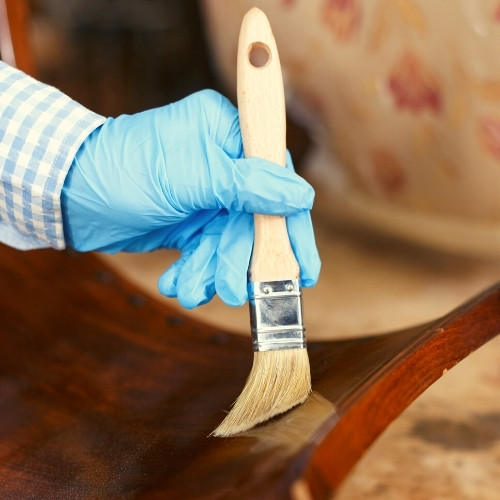
Brushes are the tried and true method. Be sure to buy a good quality brush with very fine bristles; the cheaper brushes have coarse bristles which entrap air and cause bubbles in the finish; they also leave brush marks. Natural bristles are used for oil-based polyurethane, and synthetic bristles are used for water-based products.
When applying polyurethane to floors, a t-bar applicator works well, and depending on the model, they use foam, microfiber, or cloth pads.
Applying different types of polyurethane
Different application methods are used depending on the polyurethane, and much revolves around the thickness of the coat. Oil-based products are thicker. If you apply oil-based polyurethane straight from the can, the coat will be heavy and more likely to entrain air, forming bubbles on the surface. Multiple heavy coats create a thick plastic layer that can crack and come off in sheets. It will also take longer to dry.
Thinning the first coat at a 50/50 ratio acts as a sealer to the wood, allowing polyurethane to flow readily from the brush, leaving a thin coat. You can thin subsequent layers at a ratio of 75/25 polyurethane to thinner. These coats will go on slightly thicker while still flowing well. You can apply up to four coats in this manner without the risk of making the finish look unnatural.
Water-based polyurethane is a far thinner consistency straight from the can. It also looks milky white but clears when it dries. The coats applied are much thinner than oil-based polyurethane, meaning you can apply considerably more coats without overdoing the finish thickness. Six or more coats are not uncommon to get a similar film thickness to oil-based polyurethane. Given its thin consistency, you should not need to further thin water-based products, but there’s no harm if you do.

Modern polyurethanes are supplied in brush-on, wipe-on, or spray-on formulations. Each is suitable for a particular use. Where you need a thick, durable film, brush-on applications are best (floors come to mind).
The wipe-on polyurethanes are better for contoured surfaces such as cornice moldings, where the thickness and durability of the coat are less important, and it’s better to avoid drips and runs. You can apply wipe-on formulations with a lint-free rag.
Spray-on polyurethanes are used where the surfaces are difficult to coat by any other means. Louvers, shutters, and chair spindles are good examples. The coating from spray-on products is very light and, therefore, less durable than the previous two application methods. You also need to be aware of overspray affecting surrounding areas, requiring careful masking and covering.
Related: Oil-Based vs Water-Based Polyurethane Differences
How to thin oil-based polyurethane
We thin oil-based polyurethane as the thinned product dries more quickly, leaves a thinner coat, and flows more easily off the brush, helping eliminate bubbles.
You can use several thinning products, with pros and cons for each. Common thinners are naphtha, mineral spirits, lacquer thinner, and kerosene. The most common and safest thinners used are naphtha and mineral spirits, with mineral spirits slower drying than naphtha. Kerosene results in a very slow drying coat, and you won’t need to add very much. Lacquer thinner dries the fastest but can pose more of a fire hazard because of its volatility.
Thin your polyurethane based on volume, with common ratios being 50/50 or 75/25 of polyurethane to thinner. Stir gently to mix evenly. Don’t get too precise in your measurements; by eye is fine. I always decant into a clean container before applying the thinner. I normally don’t mix up too much-thinned product as the thinner will keep evaporating as you progress, and your coating gets thicker and thicker.
What causes bubbles in polyurethane?
The viscosity of polyurethane makes it prone to entrap air when it’s disturbed, which then stays in the product even once dry, leaving a rough and unpleasant surface. Usually, the person applying the finish is responsible for introducing air due to handling, application, equipment, and technique errors. You can mitigate such errors through awareness and care.
How to apply polyurethane without bubbles
You can take several steps to avoid leaving bubbles in your finish.
How to get bubbles out of dried polyurethane
If you have bubbles that have dried into the surface of the polyurethane, you have two options. One uses 00 or 000 steel wool, and the other uses 400 grit sandpaper to abrade the surface.
The purpose is to flatten and remove the bubbles without removing all of the polyurethane coating. The sanding is more aggressive than the steel wool, so proceed with caution. Once the bubbles are removed, you have two options. If the effect of the bubbles was minimal, you may get away with buffing and polishing the surface to get the required finish. However, if the effect is severe, you’ll need to apply a further layer of polyurethane to level off the surface.
How to apply polyurethane without brush marks
You can take four precautions to avoid brush marks in your finish.
- Use a high-quality, fine-bristled brush. The cheaper brushes have coarse and stiff bristles, which will leave marks.
- Thin the polyurethane as previously discussed. Thinning makes the polyurethane flow better and allows the surface to flatten before drying.
- Hold the brush about 10-15 degrees from the vertical in the direction of travel. Then, barely brush the surface of the wood with the first half-inch to an inch of the tips of the bristles.
- Try not to go over and over the same area. Once you’ve applied the thinned polyurethane, allow it to settle and flatten before drying.
How to get rid of brush marks
There is a technique you can use when the polyurethane is still wet called tipping-off, where you use light pressure on the very tip of the bristles at a 45-degree angle to the brush strokes. This action flattens out the marks, then uses a very light and quick brush in the direction of grain again to finish.
If the brush marks have dried, you’ll need to sand the surface with 120 to 220-grit sandpaper, just enough to remove the marks. Remove all the dust, clean the surface, and then observe all the precautions we’ve discussed, and reapply a light coat of fresh polyurethane to finish.
Can you apply polyurethane over varnish?
Yes, you can. Prepare the surface of the wood by sanding; start with 120-grit paper and work your way down to 320-grit to ensure the finish is smooth. Vacuum and use a tack cloth to remove all dust, then wash the surface. Once dry, you can apply the polyurethane.
Further tips when working with polyurethane
Read More: How to Fix Polyurethane Mistakes